Bosworth 1485 (18-24 August)

("The Ballad of Bosworth Field", the work of an unnamed supporter of the Plantagenets
from northern England, written sometime during the ten years after the battle)
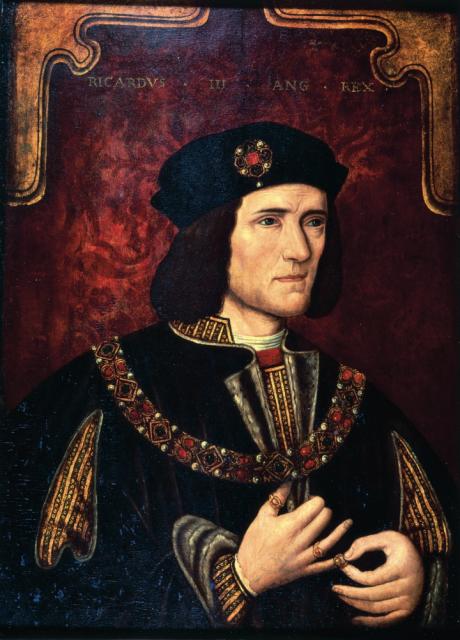
With the battle threatening to turn against him, Richard staked all on a heroic charge with Henry Tudor the objective. He personally killed Henry's standard bearer with his lance, then swept a second defender out of his saddle with a blow of his axe and was very close to his goal. But the momentum of the charge was spent and Richard with his household were gradually overwhelmed. After his horse, already wounded, became trapped in some marshy ground Richard fought on to die bravely on foot. The Tudor victory did not bring the Wars of the Roses to an immediate end. Following his coronation on 30 October, Henry had to deal with a number of real threats and challenges. The last military action took place in 1497 and the last serious plot was eliminated in 1499. The traditional image of Richard III as monstrous king was a Tudor creation motivated by the need to justify the illegitimacy of Henry VII's accession. In truth, Richard served his brother Edward IV and his country well both in peace and war; he was a good and brave soldier. Indeed he seems to have been no worse and was quite possibly a rather better man than his peers, whether friends or enemies.
Further reading
Campaign 66: Bosworth 1485 The Last Charge of the Plantagenets (extract below) is a detailed reconstruction of this pivotal battle and the events and actions immediately preceding it. To place Bosworth in the context of the whole war, Essential Histories 54: The Wars of the Roses 1455-1485 is a compact account of the entire dynastic struggle, which spanned nearly all of the second half of the 15th century as well as the background to the war, and the consequences. Campaign 120: Towton 1461 England's bloodiest battle is a study of the longest and bloodiest battle of the War of the Roses, and another crucial battle of the wars, Tewkesbury, will be covered in Campaign 131: Tewkesbury 1471 The last Yorkist victory to be published in October.
Men-at-Arms 145: The Wars of the Roses. It also surveys the arms and armour, livery and badges of the opposing sides. Warrior 35: English Medieval Knight 1400-1500, (extract below) by the same author and illustrator as Campaign 66, describes the life and experiences of the 15th-century knight from his training as a squire to his involvement in battles in England and France. It also closely examines his dress and weaponry and explores the social mechanisms that attached systems and great families to each other.
An extract from Campaign 66: Bosworth 1485 The Last Charge of the Plantagenets
Richard III's last charge
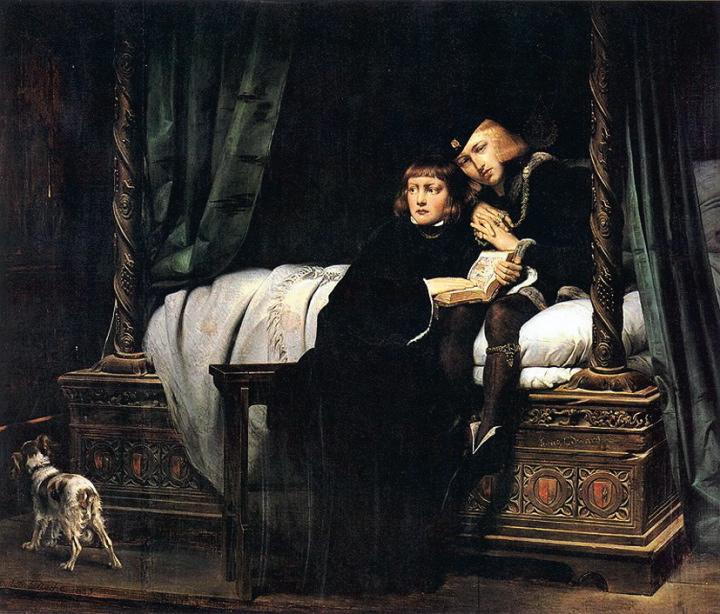
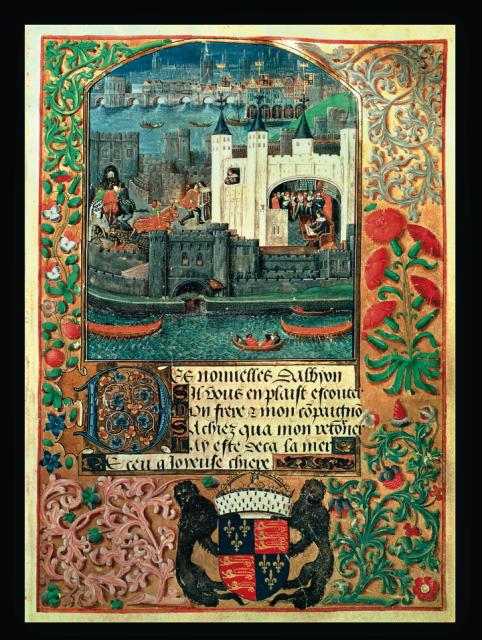
Synowie Edwarda IV uwięzieni w Tower, mal. Paul Delaroche, 1830 r.

'Give me my battle-axe in my hand,
Set the crown of England on my head so high!
For by Him that shape both sea and land,
King of England this day I will die!'
("The Ballad of Bosworth Field", the work of an unnamed supporter of the Plantagenets
from northern England, written sometime during the ten years after the battle)
With the battle threatening to turn against him, Richard staked all on a heroic charge with Henry Tudor the objective. He personally killed Henry's standard bearer with his lance, then swept a second defender out of his saddle with a blow of his axe and was very close to his goal. But the momentum of the charge was spent and Richard with his household were gradually overwhelmed. After his horse, already wounded, became trapped in some marshy ground Richard fought on to die bravely on foot. The Tudor victory did not bring the Wars of the Roses to an immediate end. Following his coronation on 30 October, Henry had to deal with a number of real threats and challenges. The last military action took place in 1497 and the last serious plot was eliminated in 1499. The traditional image of Richard III as monstrous king was a Tudor creation motivated by the need to justify the illegitimacy of Henry VII's accession. In truth, Richard served his brother Edward IV and his country well both in peace and war; he was a good and brave soldier. Indeed he seems to have been no worse and was quite possibly a rather better man than his peers, whether friends or enemies.
Further reading
Campaign 66: Bosworth 1485 The Last Charge of the Plantagenets (extract below) is a detailed reconstruction of this pivotal battle and the events and actions immediately preceding it. To place Bosworth in the context of the whole war, Essential Histories 54: The Wars of the Roses 1455-1485 is a compact account of the entire dynastic struggle, which spanned nearly all of the second half of the 15th century as well as the background to the war, and the consequences. Campaign 120: Towton 1461 England's bloodiest battle is a study of the longest and bloodiest battle of the War of the Roses, and another crucial battle of the wars, Tewkesbury, will be covered in Campaign 131: Tewkesbury 1471 The last Yorkist victory to be published in October.
Men-at-Arms 145: The Wars of the Roses. It also surveys the arms and armour, livery and badges of the opposing sides. Warrior 35: English Medieval Knight 1400-1500, (extract below) by the same author and illustrator as Campaign 66, describes the life and experiences of the 15th-century knight from his training as a squire to his involvement in battles in England and France. It also closely examines his dress and weaponry and explores the social mechanisms that attached systems and great families to each other.
An extract from Campaign 66: Bosworth 1485 The Last Charge of the Plantagenets
Richard III's last charge
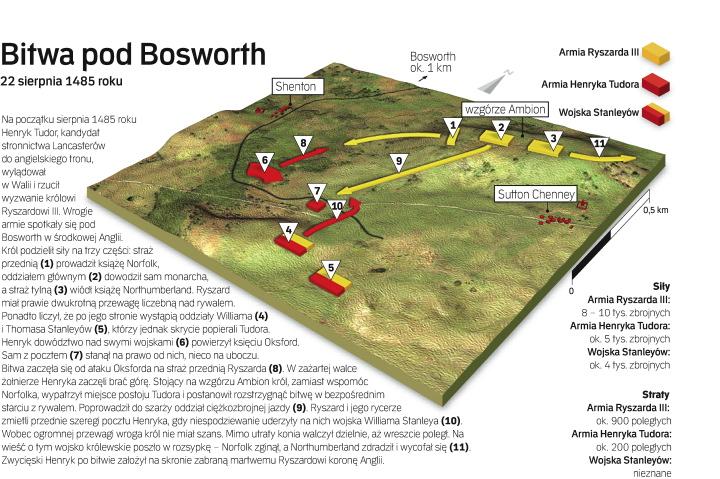
It was obvious that, as far as Richard was concerned, the battle was not going to plan. The enemy was not dispersed and was actually fighting well. It was Norfolk's men who seemed more likely to break. Indeed, some may already have started to drift away from the fighting. On the flank, Lord Stanley sat unmoving with a dangerously large body of men. Richard was then informed by spies that Henry Tudor was advancing. He strained his eyes until at last he recognised the other by his standards, floating on invisible staffs.
It has often been supposed that Henry had decided to ride across to Lord Stanley personally in order to persuade him to bring his men into the battle and relieve the hard-pressed division under the Earl of Oxford. None of the chroniclers or ballads describe this. What is certain is that Richard made a decision that would be momentous. Seeing the lacklustre performances by some of his soldiers and some desertions (by northerners, notes the Crowland chronicler) several of his men suggested that he flee. A swift horse, presumably preferable to the powerful but slower warhorse, was brought to him but he declined it. Salazar is described as openly counselling this course of action. Richard, well aware of the treason around him, nevertheless refused. 'Salazar, God forbid I yield one step. This day I will die as a king or win'.
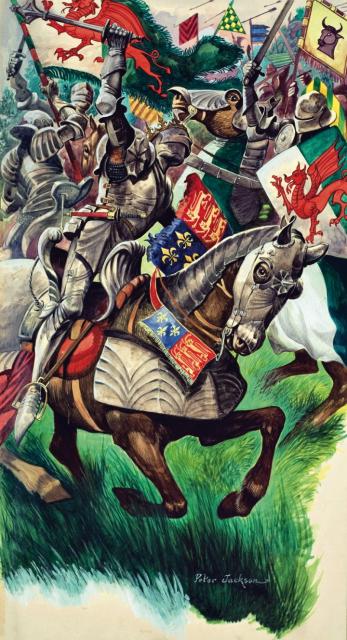
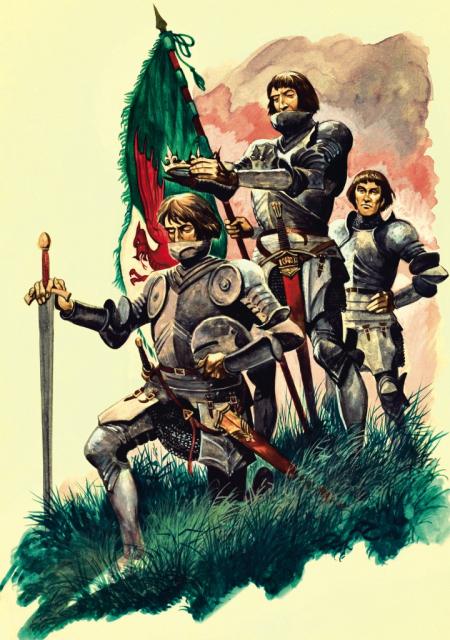
He placed on his head the helmet encircled with the gold diadem. Shakespeare mentions that Richard rode 'White Surrey' that day, though this is unsubstantiated. Accompanied by his banner-bearer, Sir Percival Thirlwall, he gathered his close companions about him. These included Sir Robert Percy, controller of the household, and knights of the body such as Sir Ralph Ashton, Sir Thomas Broughton, Sir Marmaduke Constable, Sir John Grey, Sir James Harrington, Sir Thomas Markenfield, Sir John Neville, Sir Thomas Pilkington and Sir Richard Radcliffe. With a force of about 800 mounted men, he spurred down the slopes of Ambion Hill.
Some have seen this gallant charge as rather foolhardy. It is almost as if Richard had a death wish, echoed by the terrible dreams the night before. Yet his action was not really so rash or ill conceived. Richard knew he had to force the battle. He was well aware of the treachery in his army: the fact that Norfolk's division had failed to break Oxford, despite the loyalty of Norfolk himself; the reluctance of Northumberland to commit any of his men to the action; the Stanleys still watching the battle from a distance. Now he saw his main foe, the raw rival who dared challenge him in the field. Here was a chance to destroy Henry, or at the very least smash his guard and send him packing, then the whole of the invading force would crumble. Richard knew he must win the battle. He simply could not afford a stalemate, in which he might withdraw to fight another day. So obvious was the lack of support for him, that another day would, in all likelihood, see Henry with the greatest force. Richard had said at the outset that he must win or die in the attempt. The invaders had to be completely crushed.
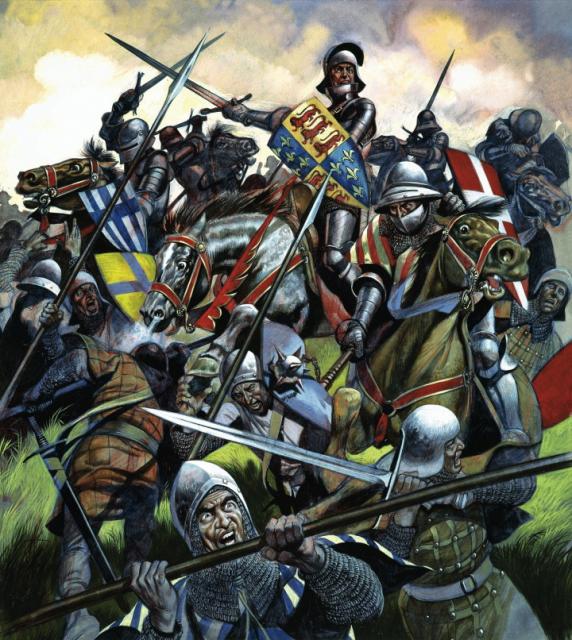
Richard thundered down the south-west slopes on to the plain below, heading straight for Henry Tudor. His royal standard-bearer with him, his courageous charge - 'the swan-song of medieval English chivalry' as it has been called - must have been exhilarating, and meant action at last for the soldier king. He may well have roared his motto 'Loyaulte me lie!' to rally both himself and his followers. Aiming for the standard of Henry Tudor, he closed on the enemy ranks; the destriers reached the gallop and the lances came down. So powerful was this onslaught that Richard was borne into the thick of the press. His lance transfixed Henry's own standard-bearer, William Brandon, and the standard fell to the earth. The king's path was barred by the formidable Sir John Cheney; seizing an axe, war hammer or possibly a mace, Richard beat him out of the saddle. He looked about him for his main target, the 'Welsh milksop'.
Henry, to his soldiers' probable surprise and relief, showed admirable courage and refused to give up his position. Heartened by his stand, his bodyguard fought on vigorously and denied Richard a path to their master. His chance of destroying Henry and ending the battle at a single stroke was ebbing away. As he strove to reach him, Richard was brought to a near standstill and was gradually pushed back. Things were starting to go horribly wrong. The powerful Rhys Fawr ap Maredudd had taken up Henry's dragon standard and defended it manfully. Richard's own standard-bearer, Sir Percival Thirlwall, was already unhorsed and had both legs hewn off, probably by a hand-and-a-half sword or else a staff weapon. Heroically, he clung to the standard and refused to let it fall. Shakespeare makes Richard say: 'I think there be six Richmonds in the field; five have I slain today instead of him.' This interesting comment reflects a practice occasionally employed in which decoys were dressed in identical garb to the commander. Whether there is any truth in such a statement with regard to Bosworth is speculative; no other writer mentions any decoys.
And now, at last, the Stanleys showed their hand. Into the mêlée came Sir William Stanley with his red-coated followers. Sweeping across they came to the aid of the beleaguered Henry Tudor and swirled around the embattled King Richard. Whatever people thought of him, all chroniclers respected the courage Richard showed in the face of now hopeless odds.
'But yet, if I may say the truth to his credit, though small in body and feeble of limb, he bore himself like a gallant knight and acted with distinction as his own champion until his last breath, shouting oftentimes that he was betrayed, and crying "Treason! Treason! Treason!"' So said John Rous of Warwick, in about 1490, a writer at first complimentary to Richard's rule, but later a great Tudor supporter. Richard's heroic charge had run its course and Henry still lived. Around him his loyal knights were being killed, and the king must have known that his cause was lost. Few chronicles give many details of his last minutes, but John Molinet mentions that Richard's horse jumped into a marsh and got bogged down. This gives further credence to the view that Richard's charge was down the south-eastern slopes of Ambion Hill, and that, once down on the level ground - Redmore Plain - he was driven back into the marshy ground or wetlands. Molinet further reveals that a Welshman then slew him with a halberd. This fits with the idea that Sir William Stanley's infantry, which contained many Welshmen, were closing in and were indeed coming across the southern side of the battlefield. They may well have been formed up behind Henry. Whether or not Richard was killed by a blow from a halberd, once down, his body was mutilated. The story fits well with an 18th-century tradition known in the area, while a Welsh tradition credits Rhys ap Thomas with killing the king; Rhys Fawr ap Maredudd also claimed that he killed the king. The English sources are so bare on fact that it is almost certain that Richard was killed by footsoldiers; if knights or nobles had been involved it would have been made public knowledge.
The battle was effectively over about two hours after it had begun. With their king dead, the army began to melt away. Northumberland left Ambion Hill without striking a blow. Others laid down their weapons and made off; there was no point fighting for a lost cause. Oxford's men, however, having put their enemies to flight, cut them down in the rout which followed.
Król Ryszard III, szkoła angielska, l. 70. XV w.
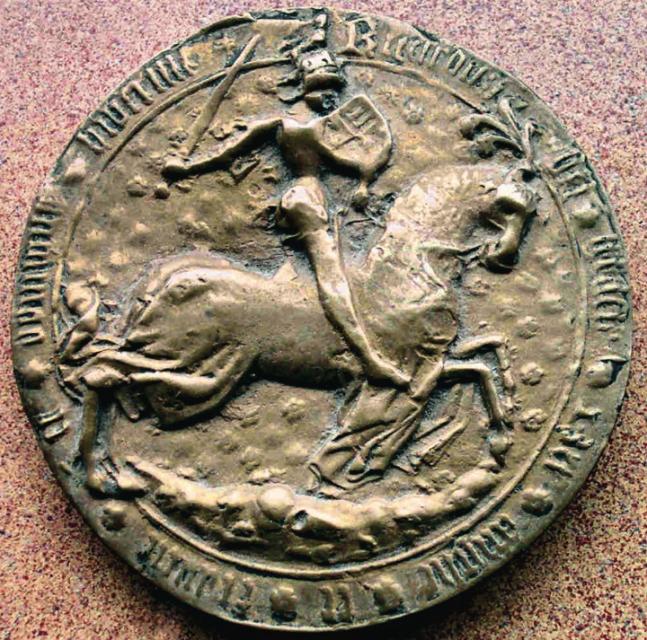
Odlew pieczęci króla Anglii Ryszarda III
Król Anglii Henryk VI modli się wraz z możnymi, miniatura angielska, XVI w.
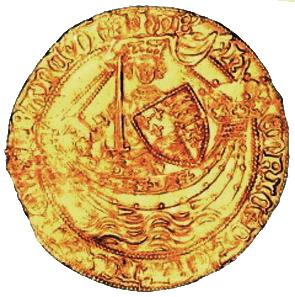
Złota moneta Henryka VI
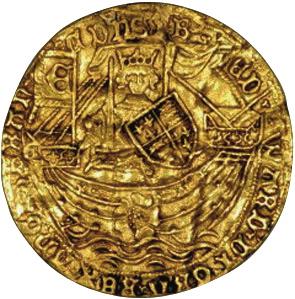
Złota moneta Edwarda IV
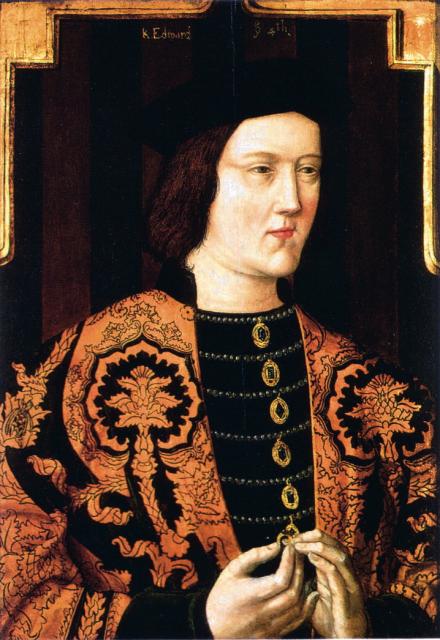
Król Anglii Edward IV Plantagenet, portret ok 1520 r.
Henryk VI z żoną Małgorzatą d’Anjou, miniatura francuska, XV w.
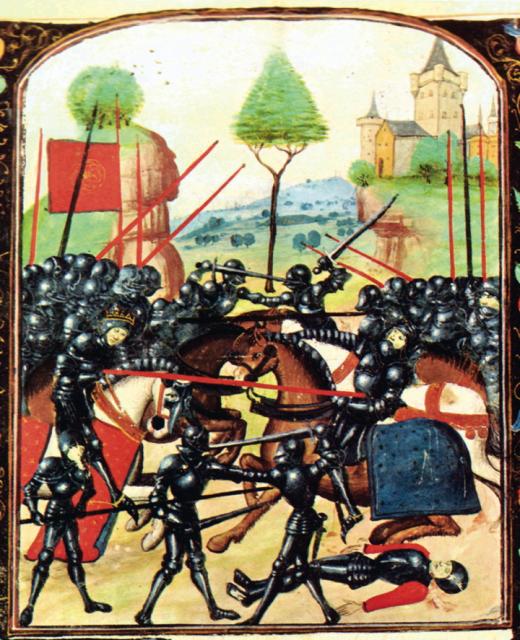
Bitwa pod Barnet w 1471 r., miniatura angielska, XVI w.
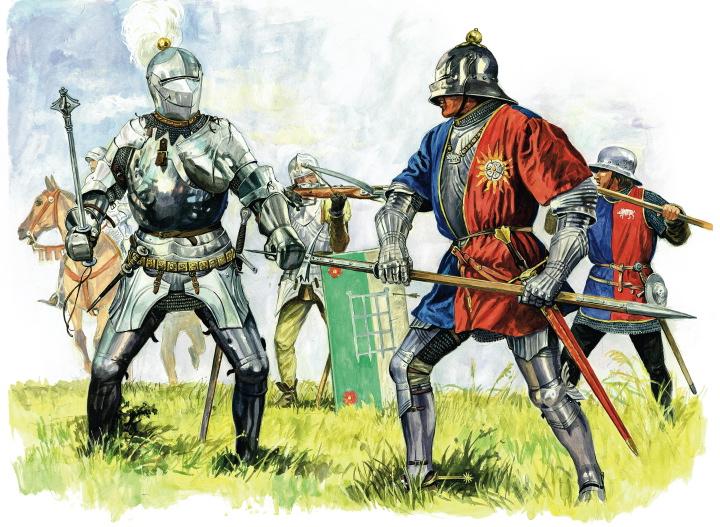
Po lewej: Rycerz stronnictwa Lancasterów w pełnej zbroi płytowej typu włoskiego, w hełmie typu armet, uzbrojony w buzdygan, miecz i mizerykordię. Po prawej: ≥Zwolennik Yorków w pełnej zbroi płytowej typu południowoniemieckiego, w hełmie typu salada, uzbrojony w miecz i młot lucerneński
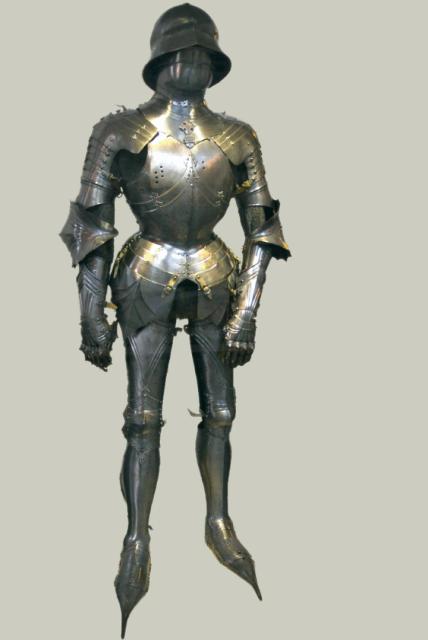
Zbroja gotycka wykonana dla księcia Maksymiliana Habsburga (przyszłego cesarza), ok. 1485 r.
The knight of the 15th century often fought on foot. He had been trained to fight mounted, with a lance, but it was often more effective to dismount most of the men-at-arms and to keep only a small mounted reserve. This was partly due to the increasing threat from missiles.
When archers were in a strong position, ideally defended by stakes, hedges or ditches, a cavalry charge was extremely dangerous. But even when the horses were protected by armour, there was always some exposed part that an arrow could strike, and arrows went deep. Shafts fitted with broad hunting heads made short work of flesh, and the horses became unmanageable even when not mortally wounded. The mounted knight then became useless as he fought for control or was thrown to the ground as the animal collapsed.
Archers carried specialist arrows, with needle-pointed heads called bodkins, to cut through armour. Tests have shown that the spin of the arrow in flight enables short bodkins striking at right angles to drill a hole into armour plate, but that the slight shoulders at the back of the arrow head then force it out again. However, long bodkins, were slimmer and could penetrate plate enough to do damage. The range at which an arrow was shot, as well as whether iron or steel heads were used, would determine its potency. At short range, the bodkins could be lethal, or inflict a wound that would slow up or debilitate a man in armour. However, most surviving oxidised red bodkins seem to be of iron, which tests suggest curl up when they strike plate. If they struck mail they would burst the rings apart as they went through. Crossbows were equally powerful although they did not employ bodkins. Handguns were also now appearing in armies, though not in any great number at this period.
Since plate armour obviated the need for a shield, and fighting dismounted meant the rein hand was free, it became common for knights on foot to carry a two-handed staff weapon in addition to the sword hanging at their side. At first this was often a lance cut down to a length of around 6-7 ft (1.8-2.1 m). Increasingly, other staff weapons were carried, which could deal more effectively with plate armour. One of the most popular was the pollaxe, designed to dent or crush the plates, either to wound the wearer or so damage the plates that they ceased to function properly.
Mounted men were very useful in a rout, for they could catch up a fleeing enemy and cut him down with minimum risk to themselves, especially if he was lightly armoured. Indeed, catching archers out of position was the best way for cavalry to scatter them before they got a chance to deploy. In the Hundred Years War this was not too much of a problem for English knights, since the French did not use archers on a large scale. During the Wars of the Roses, archers fought on both sides in Yorkist and Lancastrian armies and, for the most part, the men-at-arms found it best to stick with the tried-and-trusted methods and fight on foot.
Armies still tended to organise themselves into three divisions or 'battles', as they had in previous centuries: the vanguard or 'van', the main battle and the rearguard. Each division included soldiers of all types who served the various lords or the king. A man of rank, be he banneret, lord or king, was recognised by his banner, a large square or rectangular flag bearing his coat-of-arms. The lord might also wear a surcoat with his arms, at first a tight or loose jupon with or without sleeves, latterly a loose tabard with loose elbow-length sleeves rather like that worn by heralds. However, surcoats were increasingly discarded and, with a lack of shields, it was essential that the banner-bearer remain close to his master, following his horse's tail, as it was said. The rallying flag was the standard, a long flag ending in a point or swallow tail. It was usually divided horizontally into the two principal colours from the lord's coat-of-arms, which also formed the livery colours worn on the jackets of his retainers. The end nearest the fly was usually furnished with a red cross of St George on a white ground. Along the rest of the flag were symbols from the coat-of-arms, together with heraldic badges, again repeated in the badges sewn on to livery jackets or worn in hats. A lord might give the order not to move more than ten feet (or a similar measurement) from the standards, but if the line slightly shifted it would not be too difficult in the confusion of battle to strike out accidentally at an ally.
Knights fighting mounted might have their coat-of-arms on a small pointed pennon nailed to their lance. In order to carry out heraldic identification and to deliver messages, important nobles employed their own heralds wearing tabards of their master's arms, and trumpeters with the arms on hangings below the instruments.
The noise of many men hammering away at each other must have been deafening. When the visor was down, it was not only the hearing but also the vision that was impaired, though lateral views were better than might be supposed. Helmets lacking ventilation holes made it difficult for the wearer to see his own feet without bending forward, and they also quickly became hot and sweaty.
Synowie Edwarda IV uwięzieni w Tower, mal. Paul Delaroche, 1830 r.
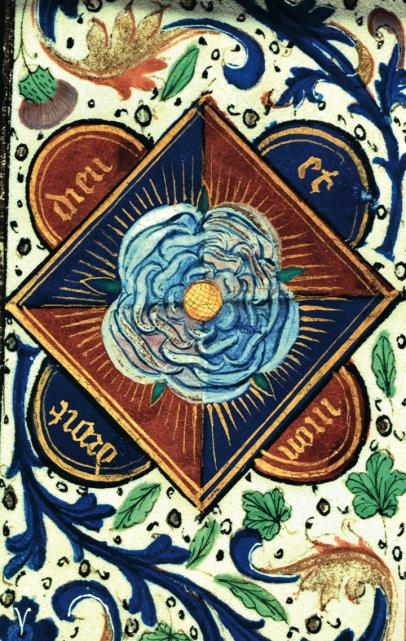
Biała Róża - godło heraldyczne domu Yorków, miniatura flamandzka, XV w.
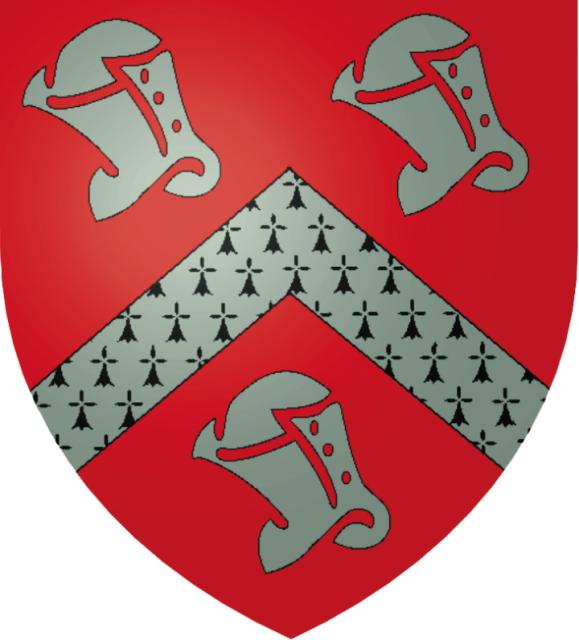
Tarcza herbowa Owena Tudora, dziadka Henryka VIII
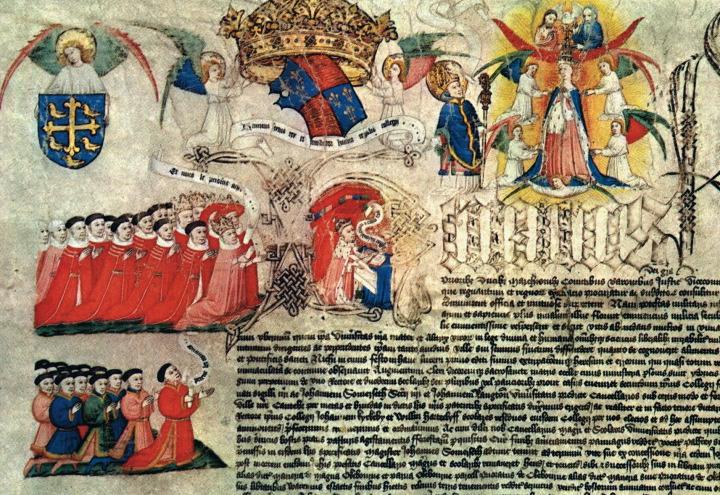
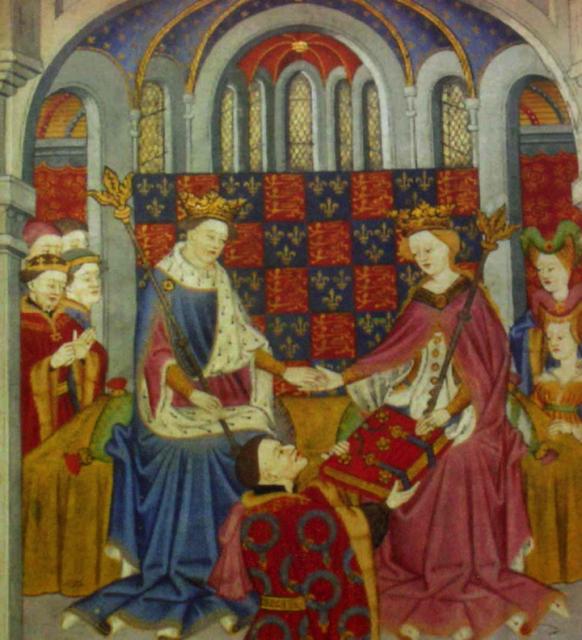
Król Anglii przyjmuje możnych, miniatura angielska, początek XVI w.
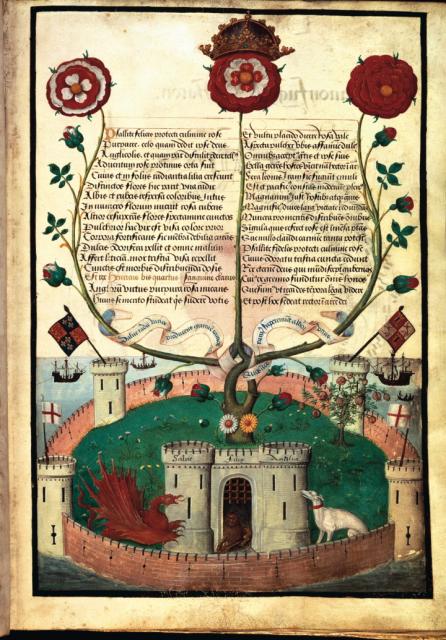
Alegoria Anglii pod rządami Henryka VII Tudora, miniatura angielska, ok. 1515 r. Na górze godło Tudorów – Biało-czerwona Róża.
No comments:
Post a Comment